How to Add Price Lists to Boost Customer Retention and Sales in Invent ERP
Learn how to create and manage price lists, set product-specific and tiered pricing, schedule effective dates, and assign lists to customers and sales channels to increase repeat purchases and maximize revenue.
Step-by-Step Process
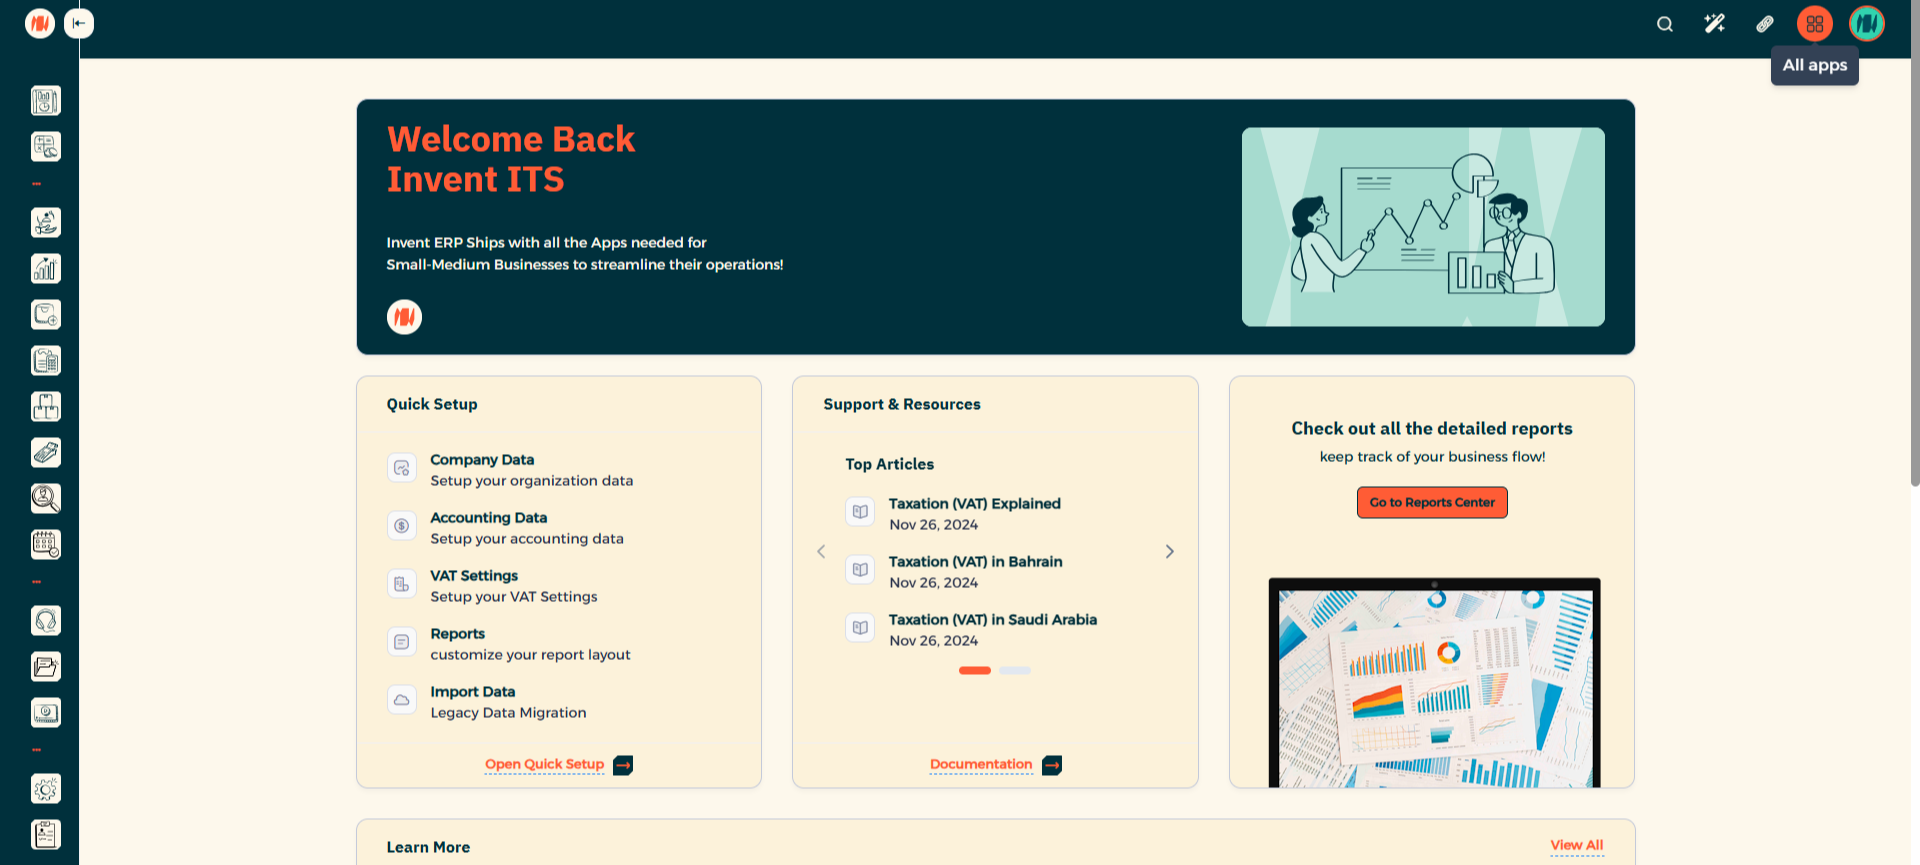
Step 1: Navigate to All Apps
From the Main Menu, look at the top right corner then click on All apps.
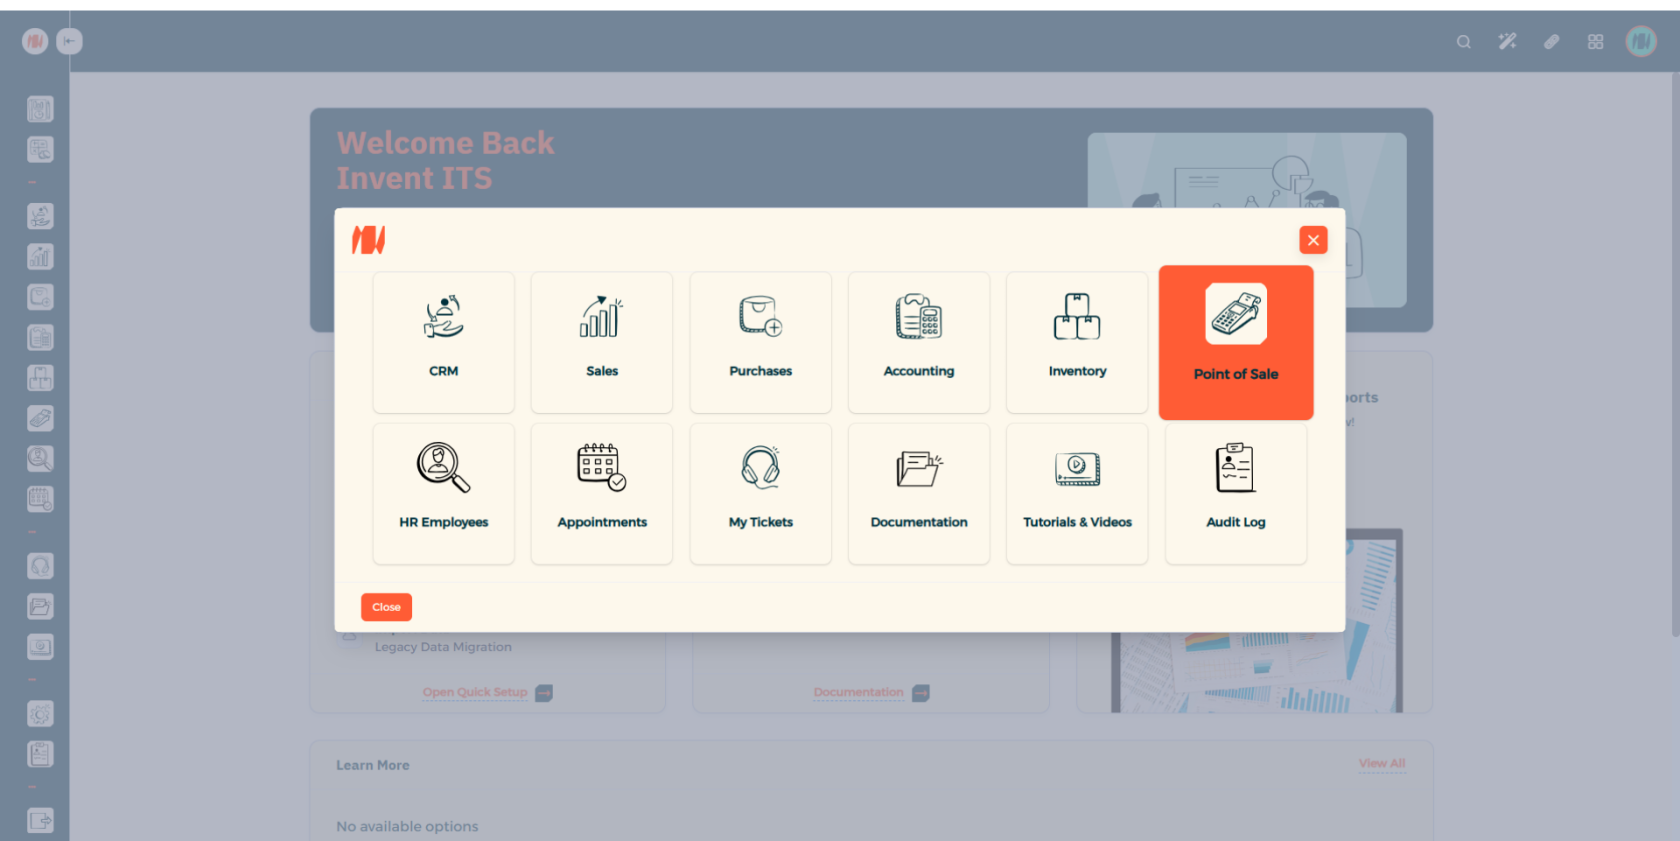
Step 2: Select Point of Sale
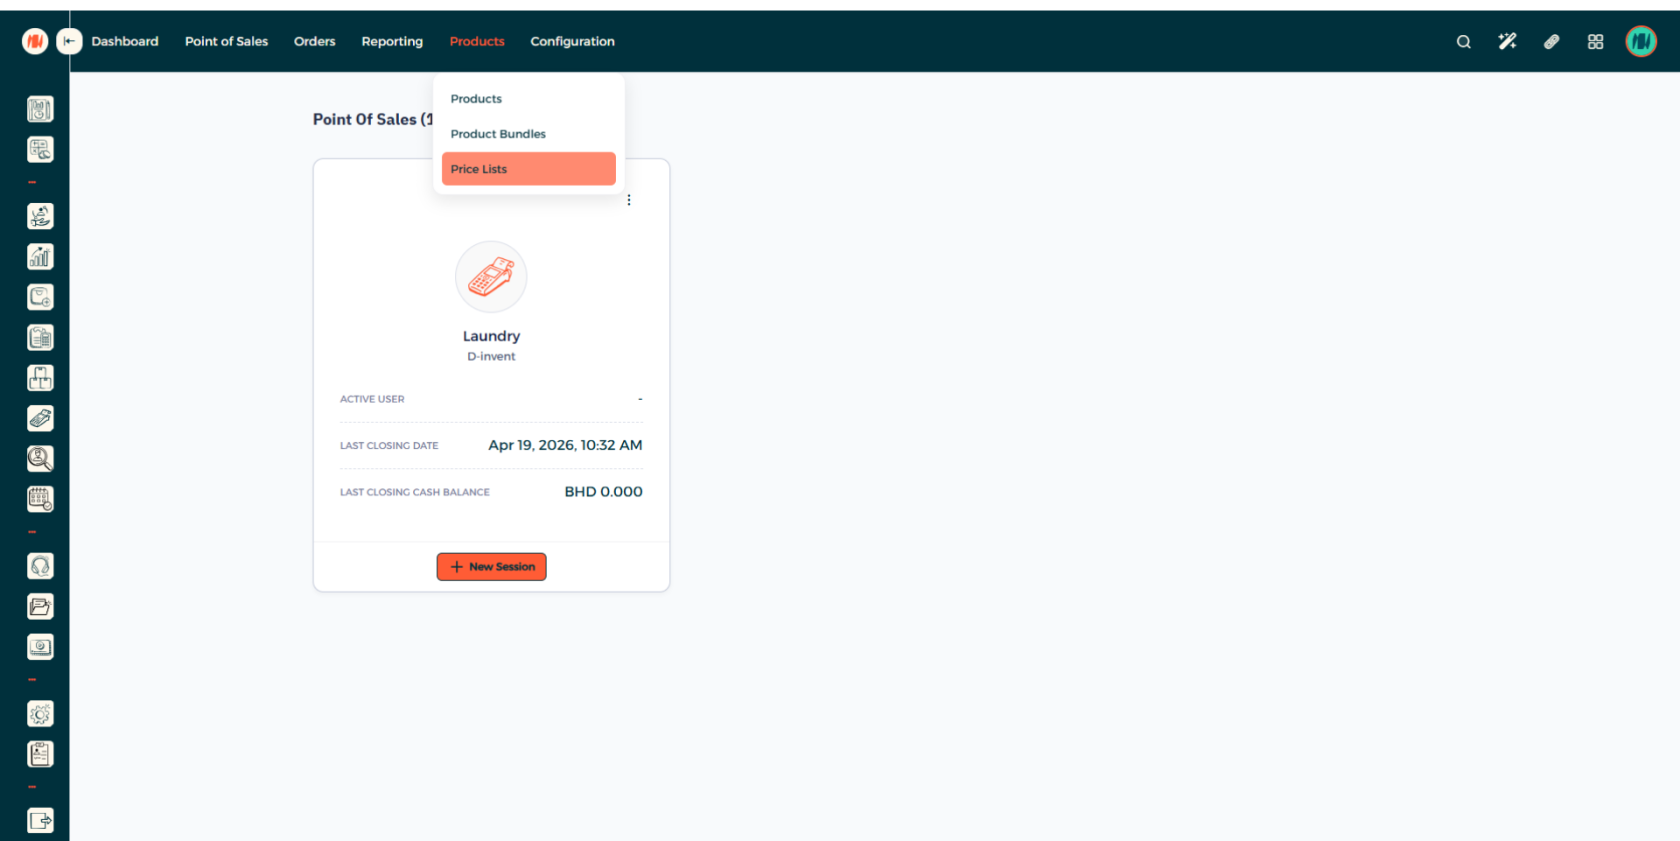
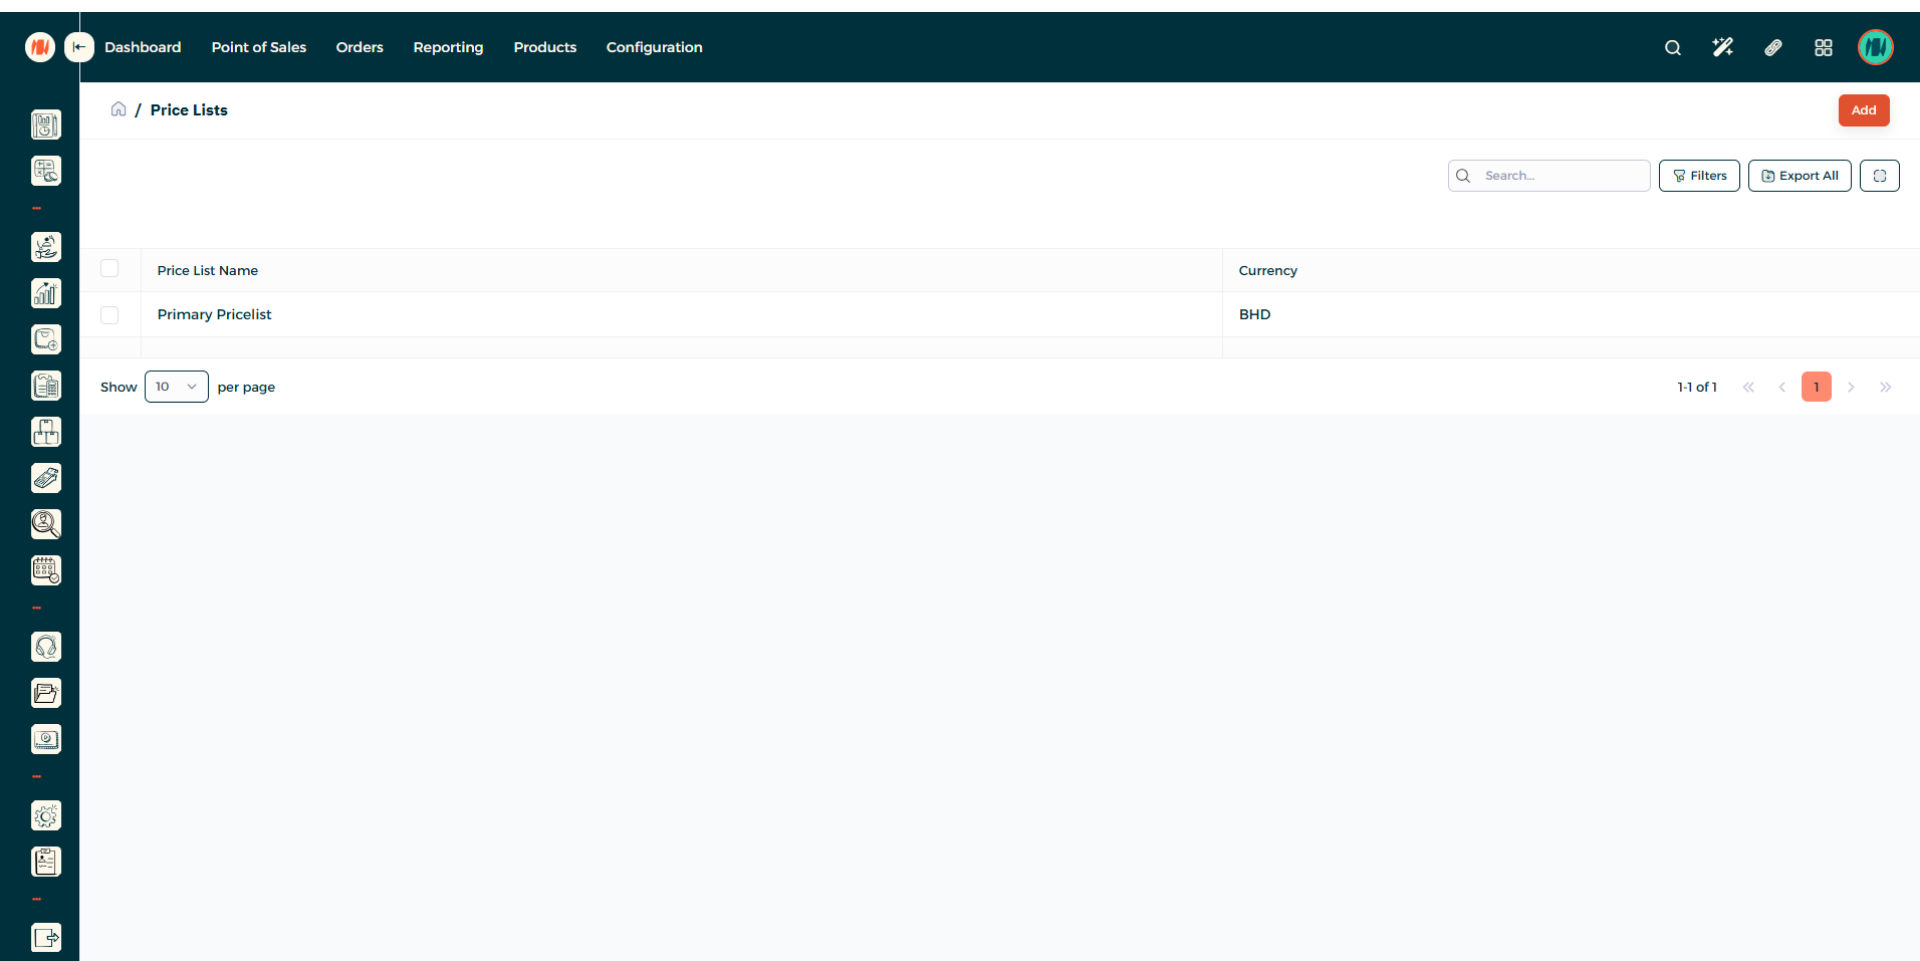
Step 3: Navigate to Price Lists
When you arrive, select products then Price Lists.
Step 4: Add a Price List
In the top right corner, Press add to create a new Price List.
Step 5: Enter a Price List Name
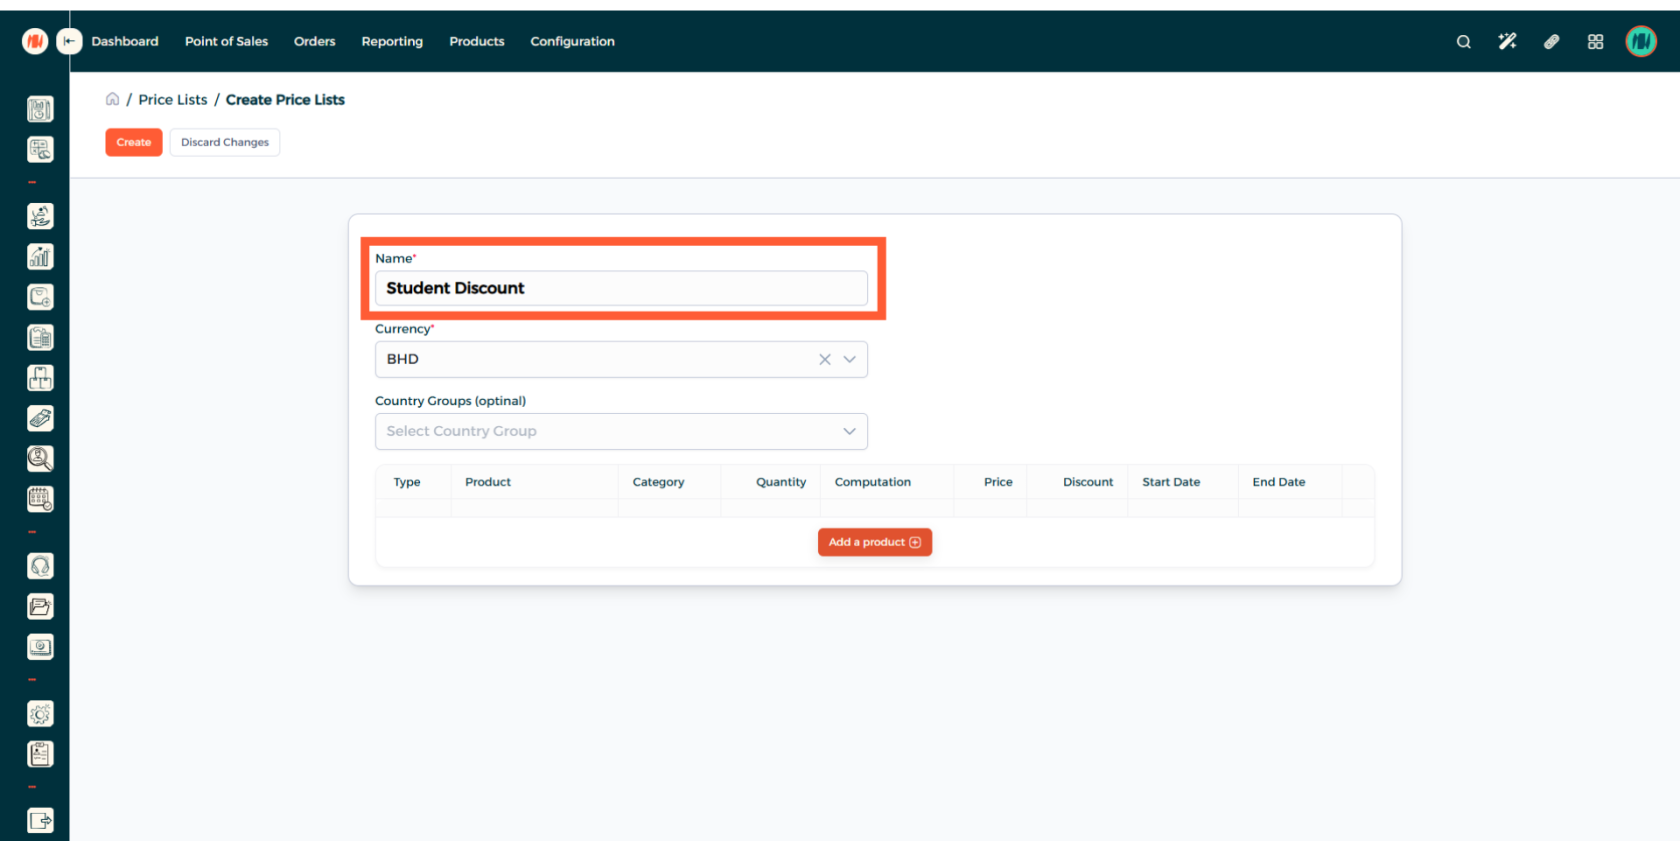
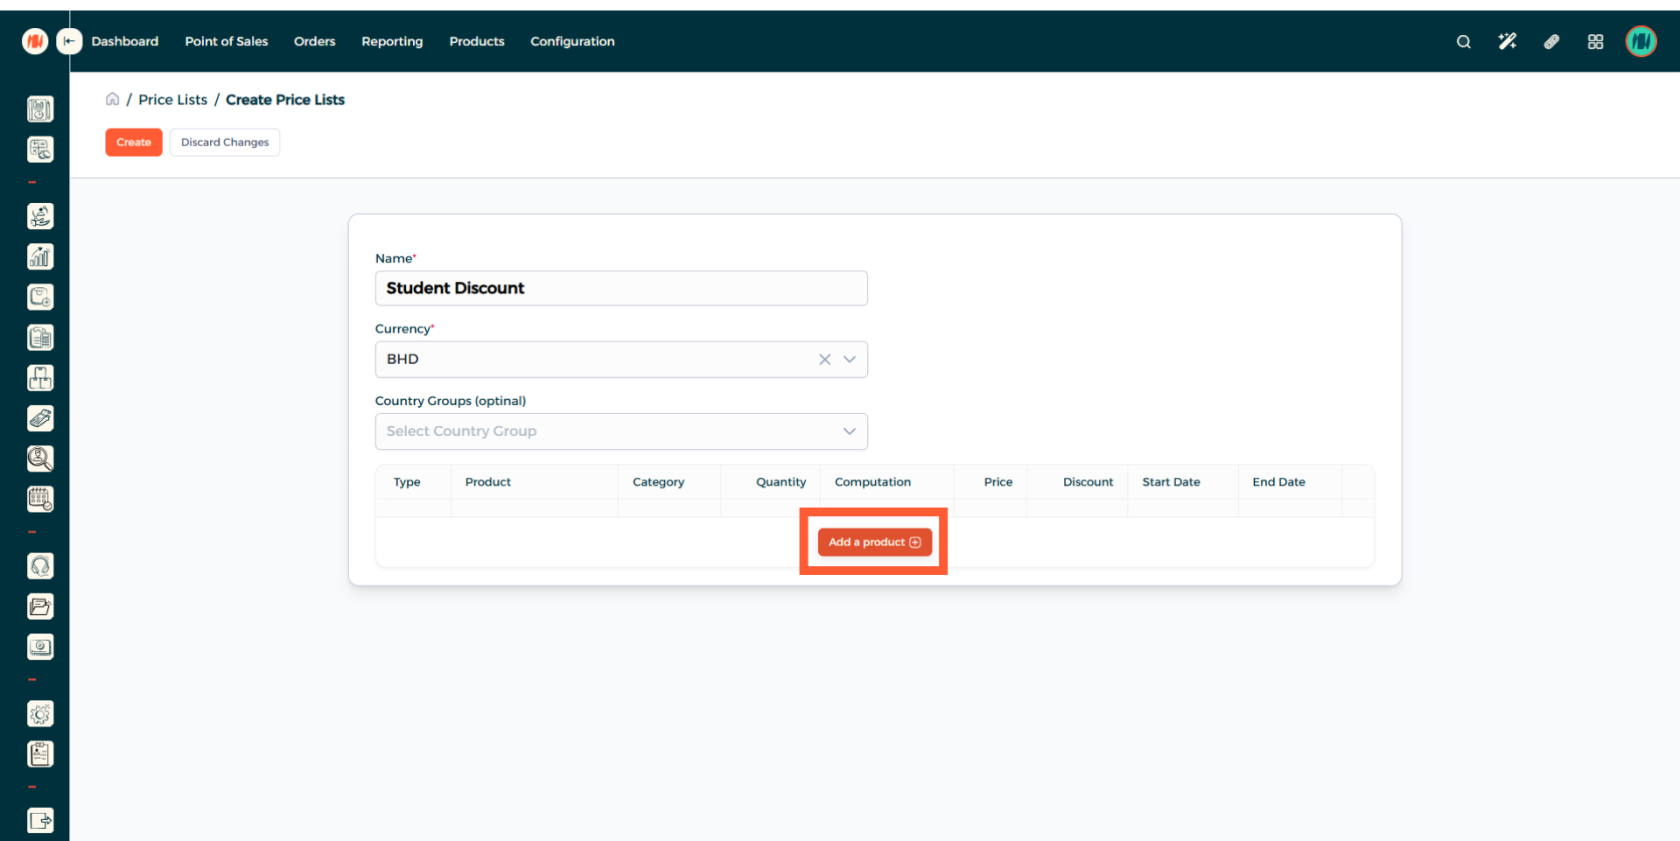
Step 6: Add a Product
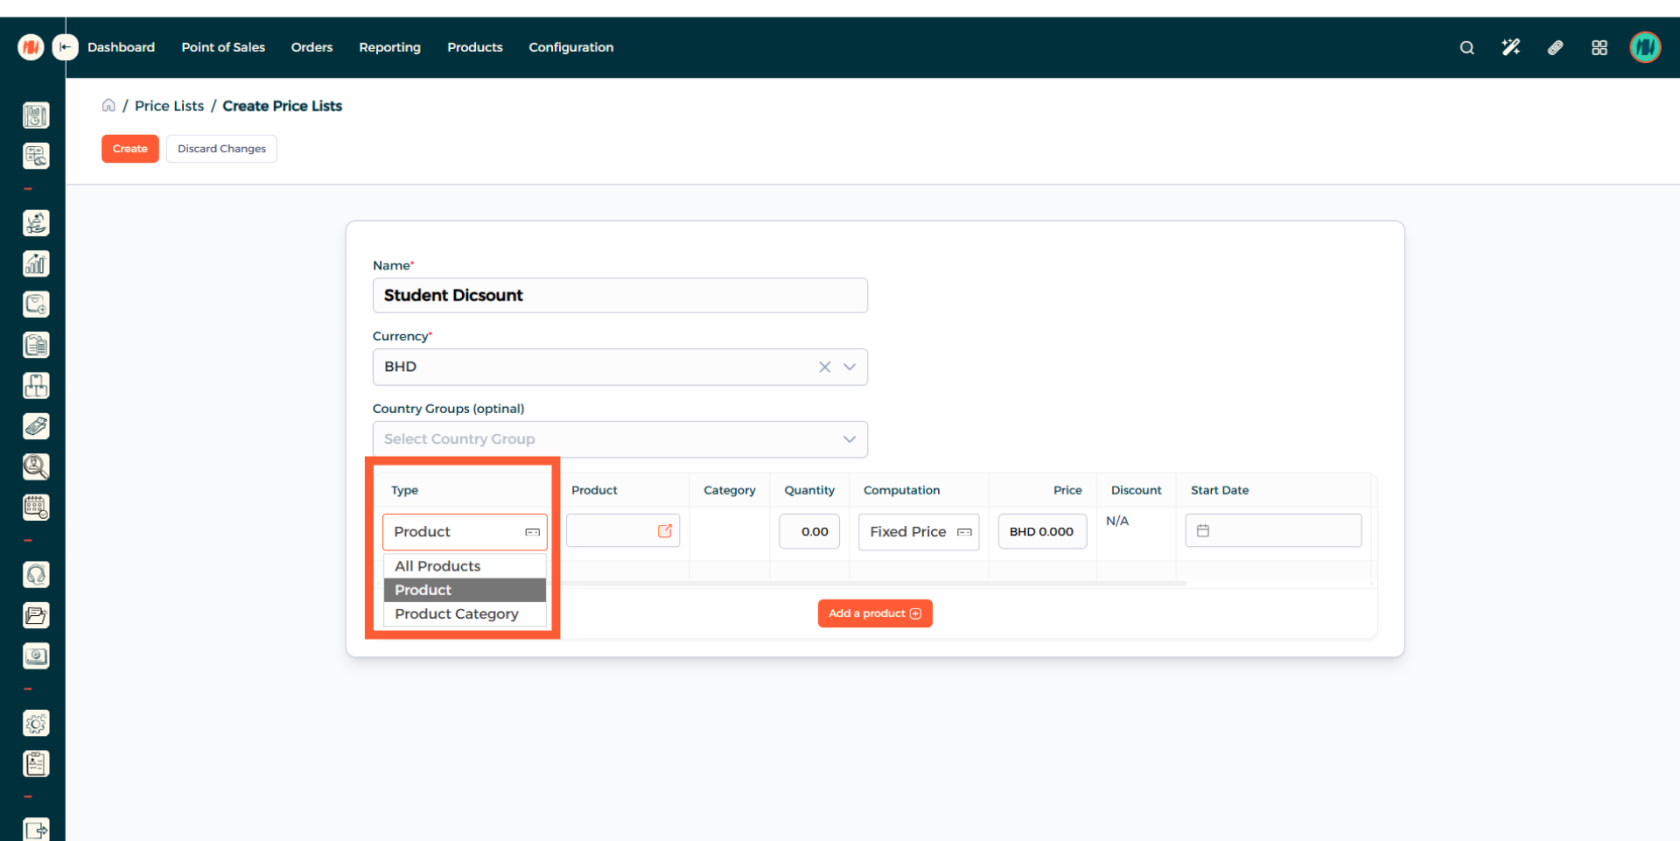
Step 7: Select Product Type
Choose your preferred product type, then add the product
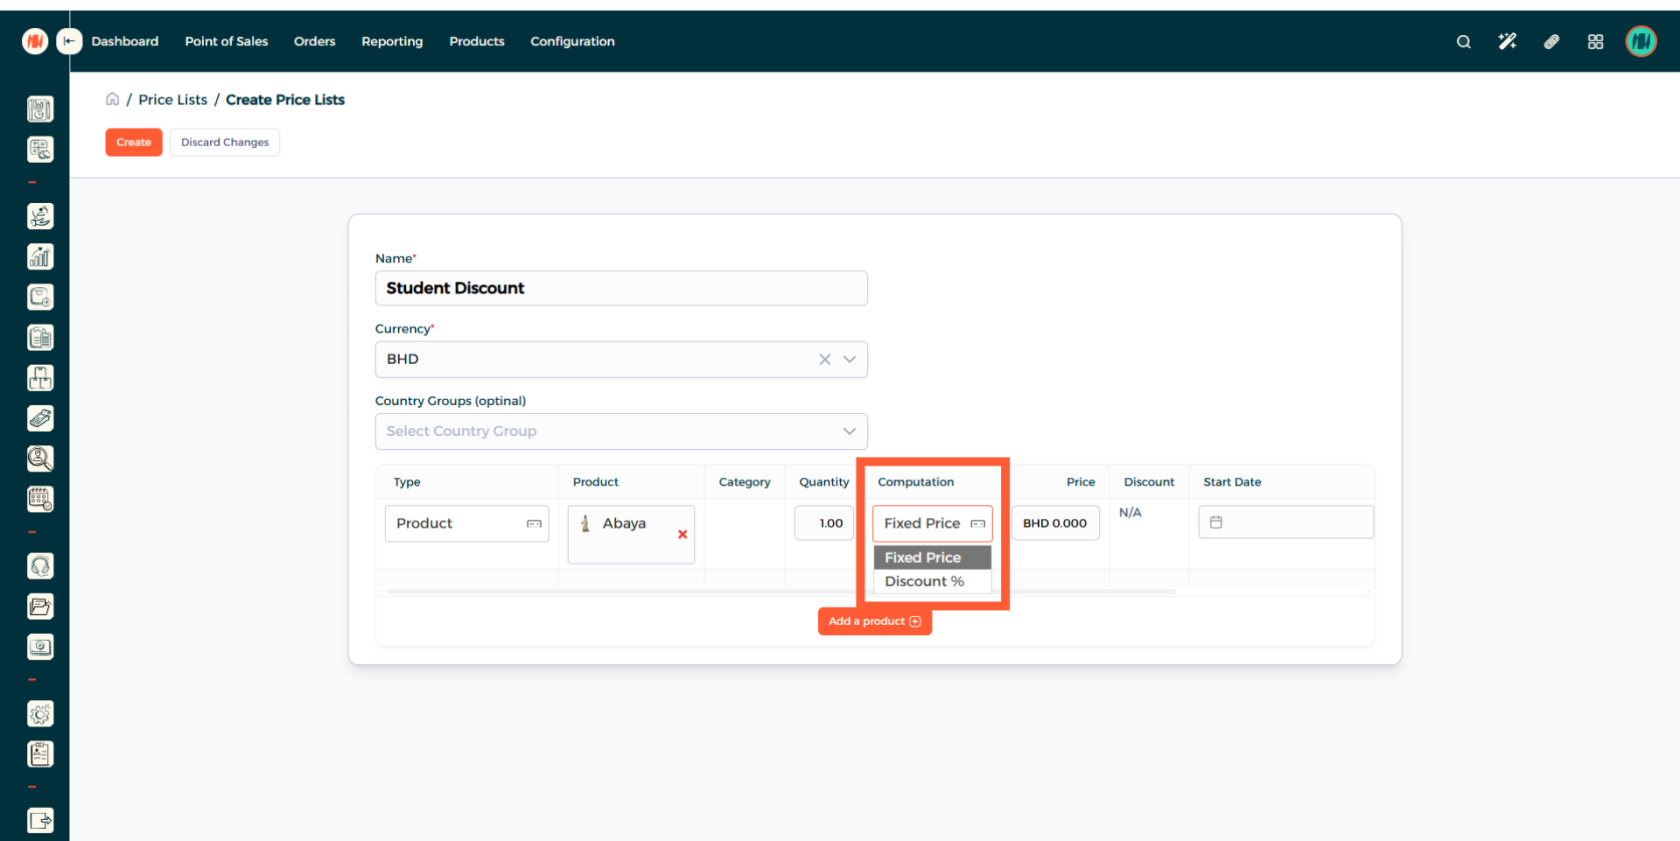
Step 8: Choose Computation
After that, choose the preferred price rule you would like. Either Fixed Price or Discount Percentage.
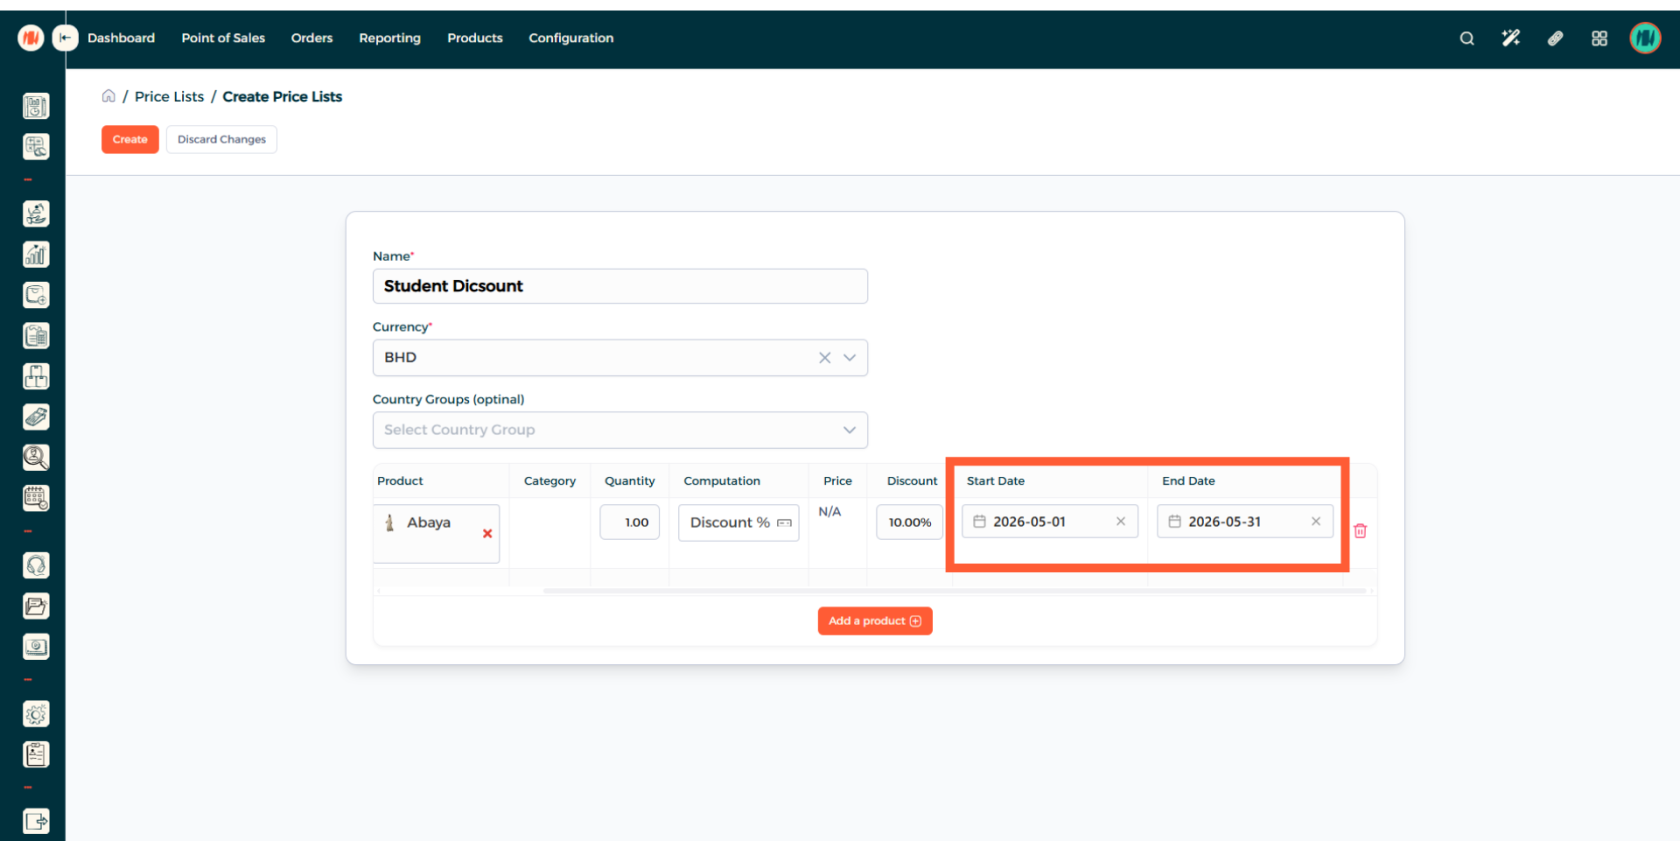
Step 9: Select Date Range (Optional)
You can define a Date Range to ensure the pricing only applies during a specific period.
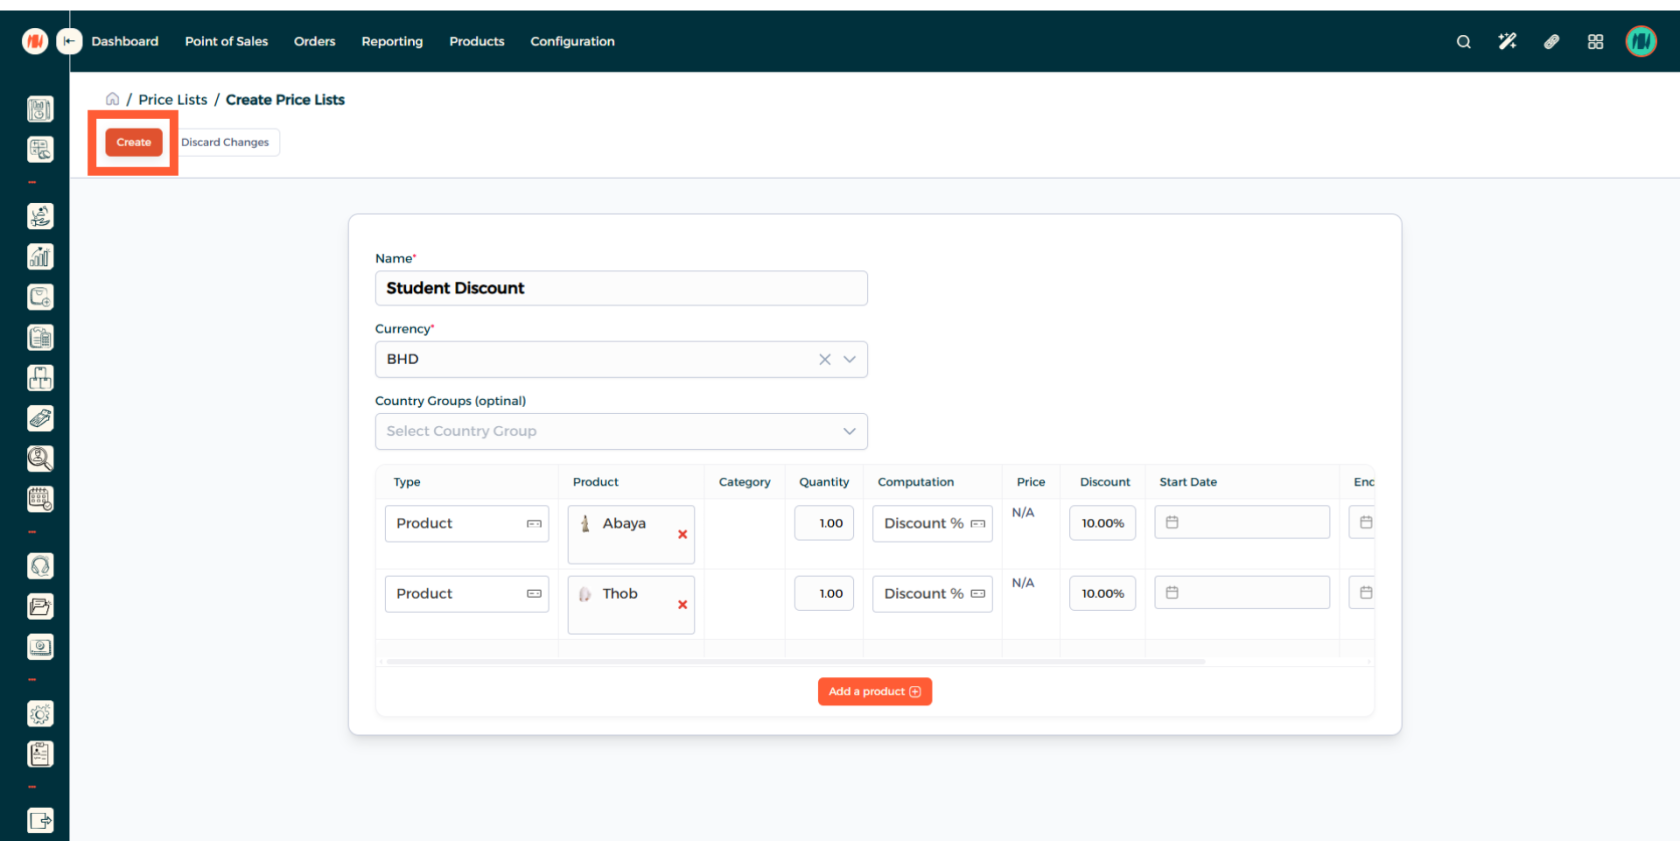
Step 10: Create Price List
When you added all your products and price rules. Confirm your details and go ahead and create your price list.
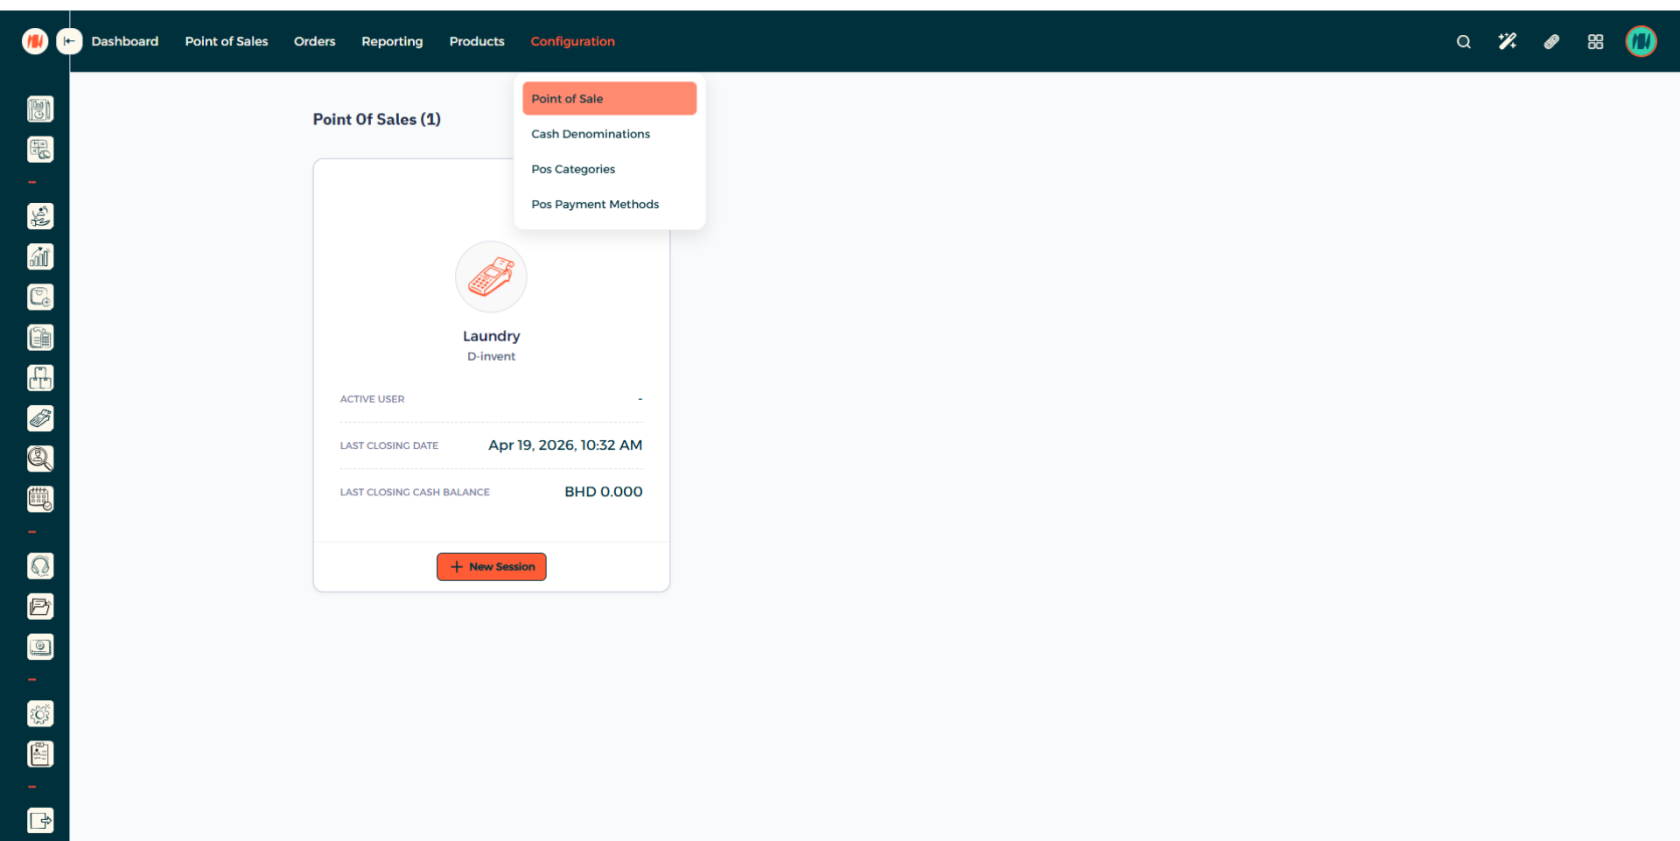
Step 11: Point of Sale Configuration
Now that you created your price list. Navigate to the Point of Sale configuration to apply it.
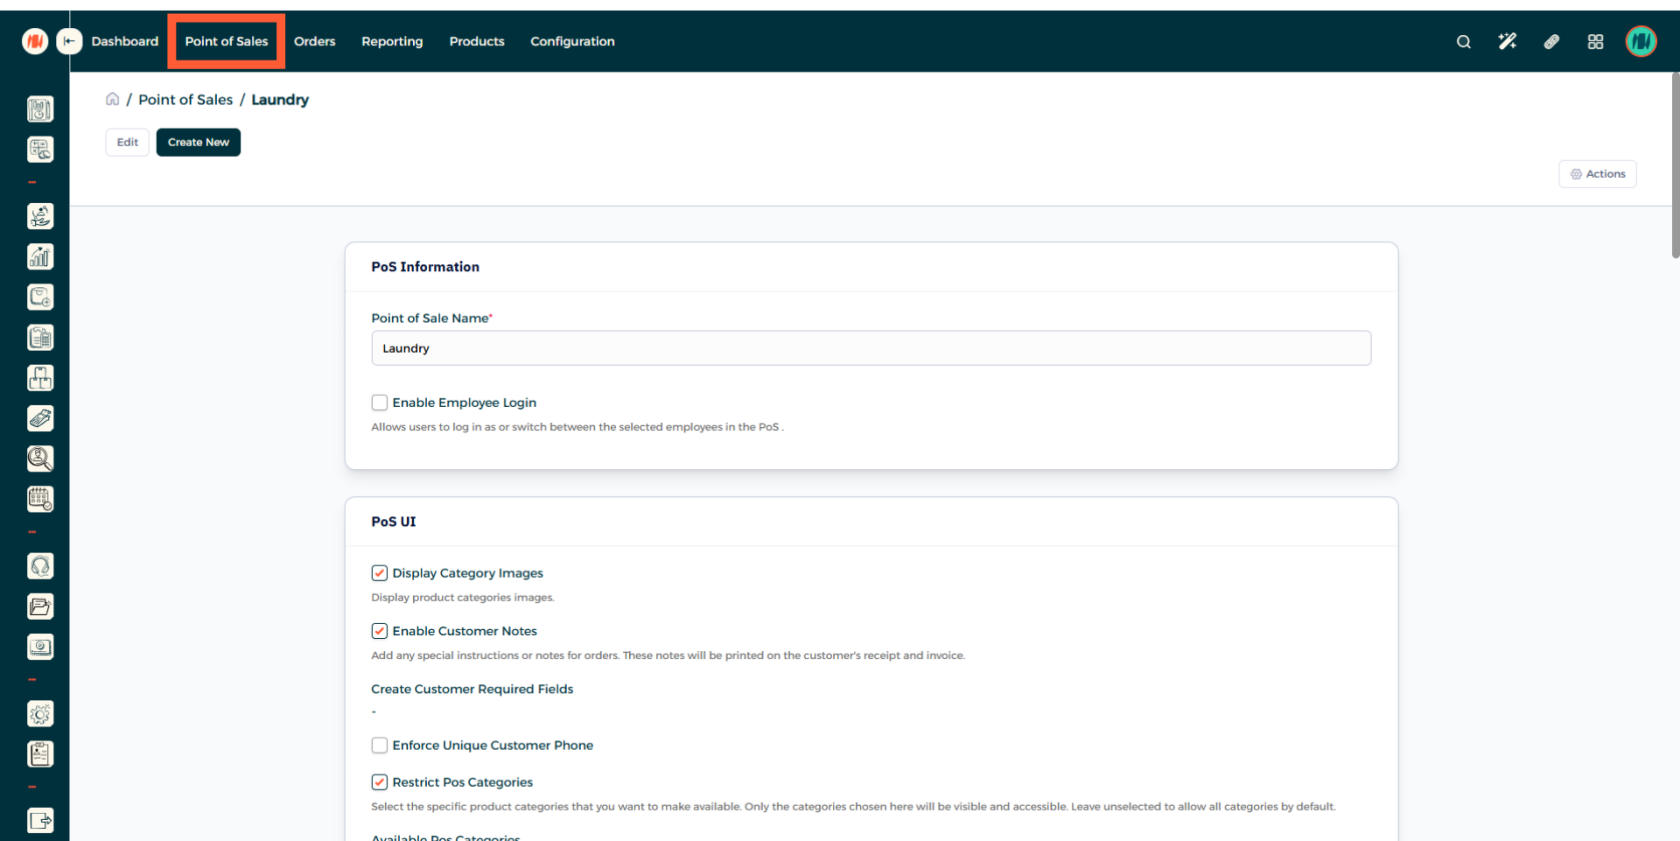
Step 12: Apply Price List to POS
Head over available price list and select the one you want to apply. Make sure to save your changes.

Step 13: Navigate to POS
Step 14: Choose Products
Select the products you want to apply the price list on. Then click options.

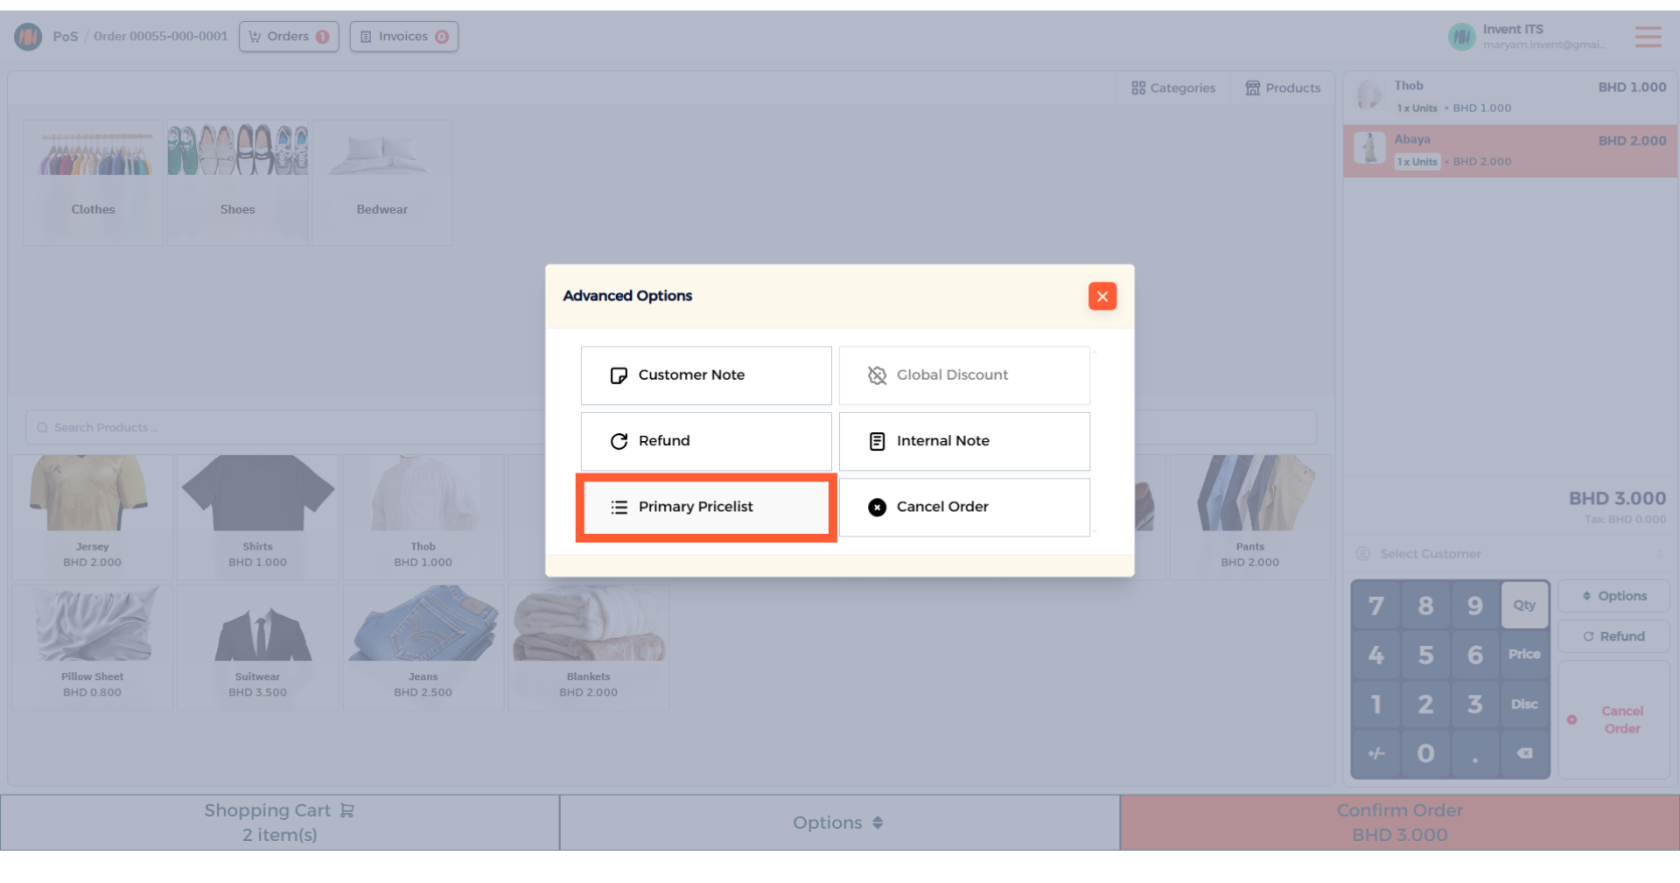
Step 15: Select Price List
In the advanced options section, click on primary price list then select it
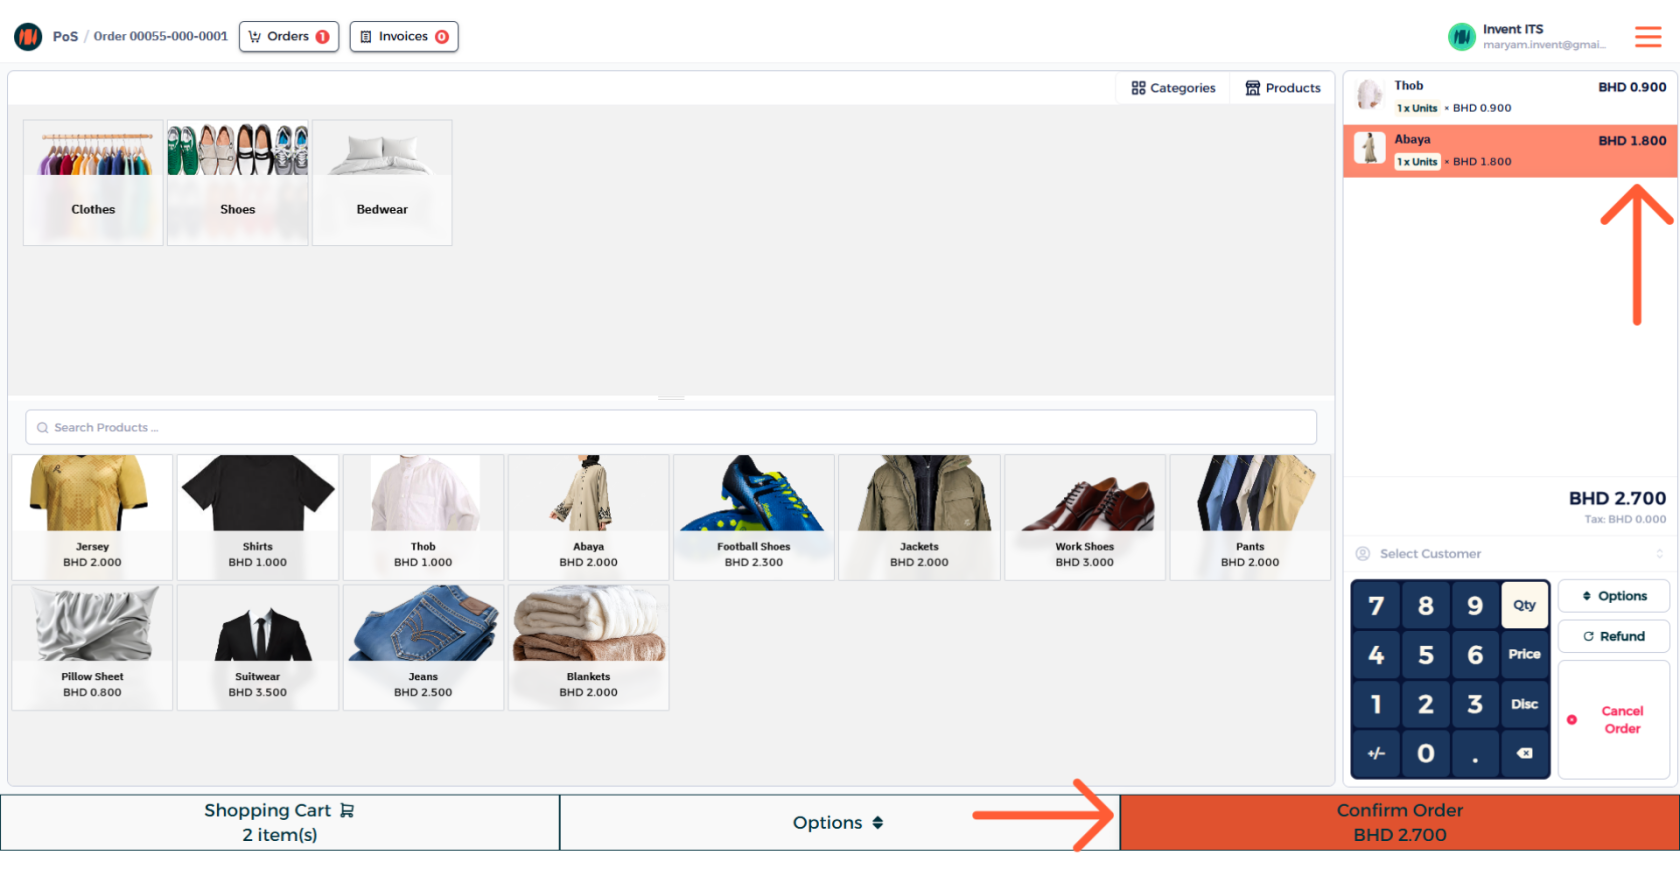
Step 16: Price List applied
After following those steps, you can see the price list was applied, now you can go ahead and confirm your order.
Notes & Tips
- Always double-check validity dates. This ensure the price list’s start/end dates are correct to prevent unintended pricing during promotions or transitions.
- A crucial tip is to use clear naming conventions. The usage of descriptively price lists can allow you to always select the right price list and speed up workflow.
- Also it is beneficial to assign by product groups when possible. The reason is to apply prices to groups to speed setup and keep lists manageable
FAQ
Q: What is a Price List? A Price List is a set of rules (fixed price or discount percentage) that are applied to products or services to determine their sale price.
Q: Can one product belong to multiple Price Lists? Yes, a product can have prices in multiple Price Lists.
Q: How do I handle temporary promotional pricing? Create a Price List, then add the products alongside the rule either fixed price or discount percentage. After that, just apply a date range.